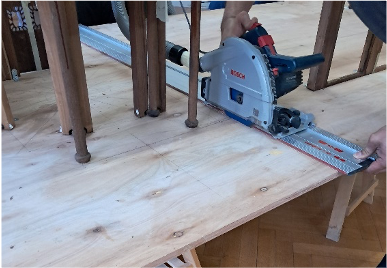
We begin the week with the presence of the museum’s carpentry workshop managers, to cut the model’s support using a plunge saw with a guide rail.

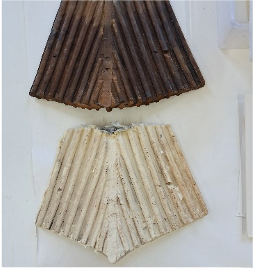
We cast the complex missing roof section in resin using the silicone molds and plaster counter-mold that were created.
As decided with the steering committee, we stain the model’s floor in a light brown shade.
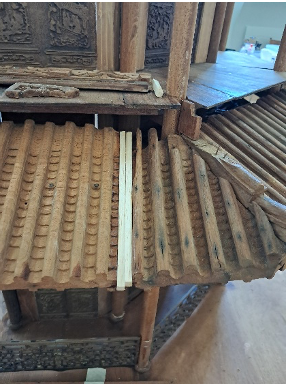
We position and attach the roofs of the right side section. As the wood has warped over time, we add balsa wood to fill the gaps between the roof panels.
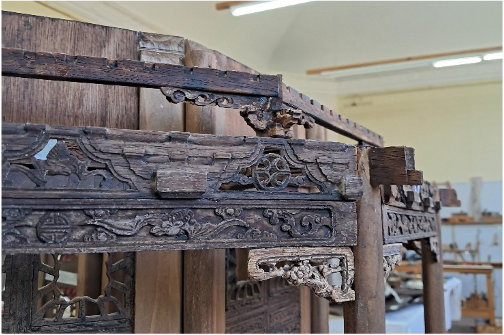
We attach the friezes and consoles above the first-floor side sections.
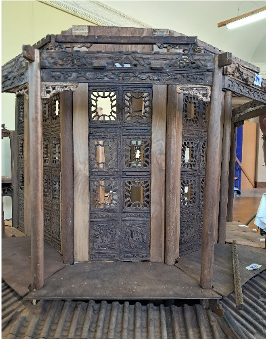
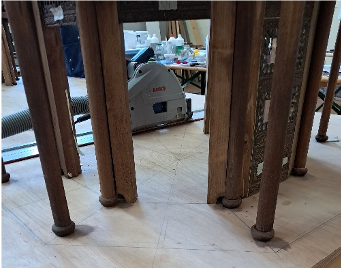
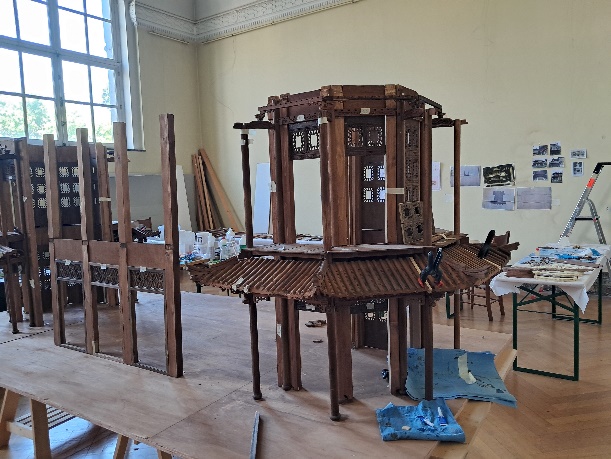
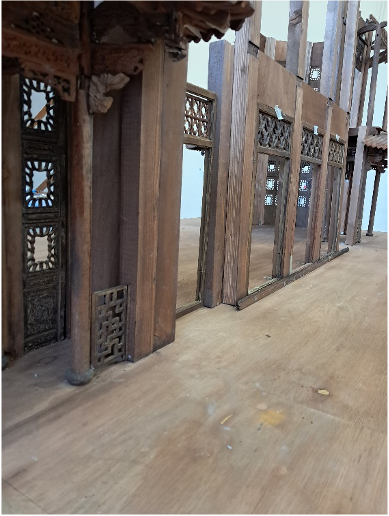
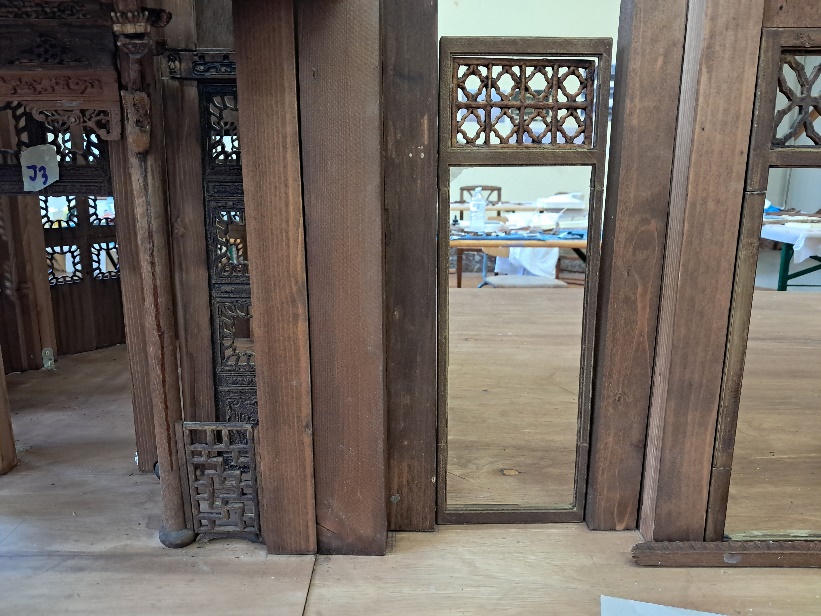
We position and attach the windows and the structural uprights of the side sections to the central section. We also position and adjust the small ground-floor railings.
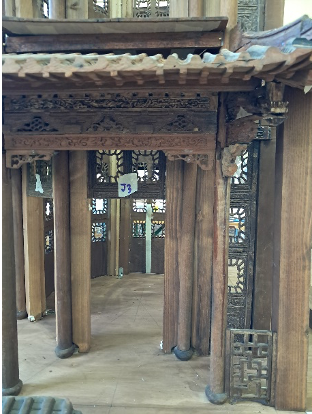
We create and stain the uprights that connect the central section and the left side section. This is a delicate operation, as the model will be divided between these uprights.
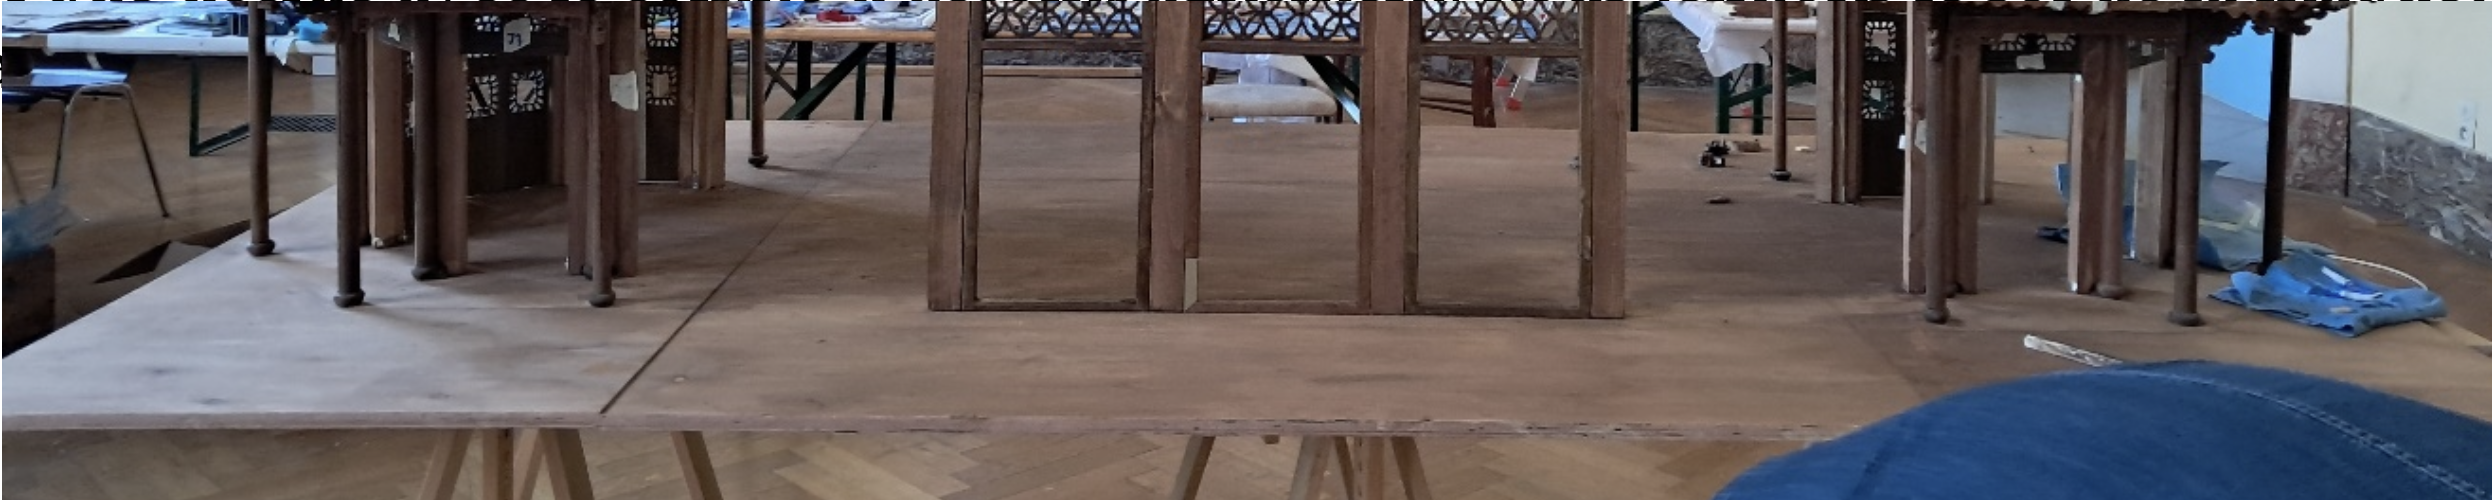
The left section of the model and the central section are now connected.
